
When last did you do a tyre inspection?
Seeing as we are all bound to our homes, now might be the perfect time to take a look at your tyres and make sure they’re equipped to take you from A to B, when the time comes.
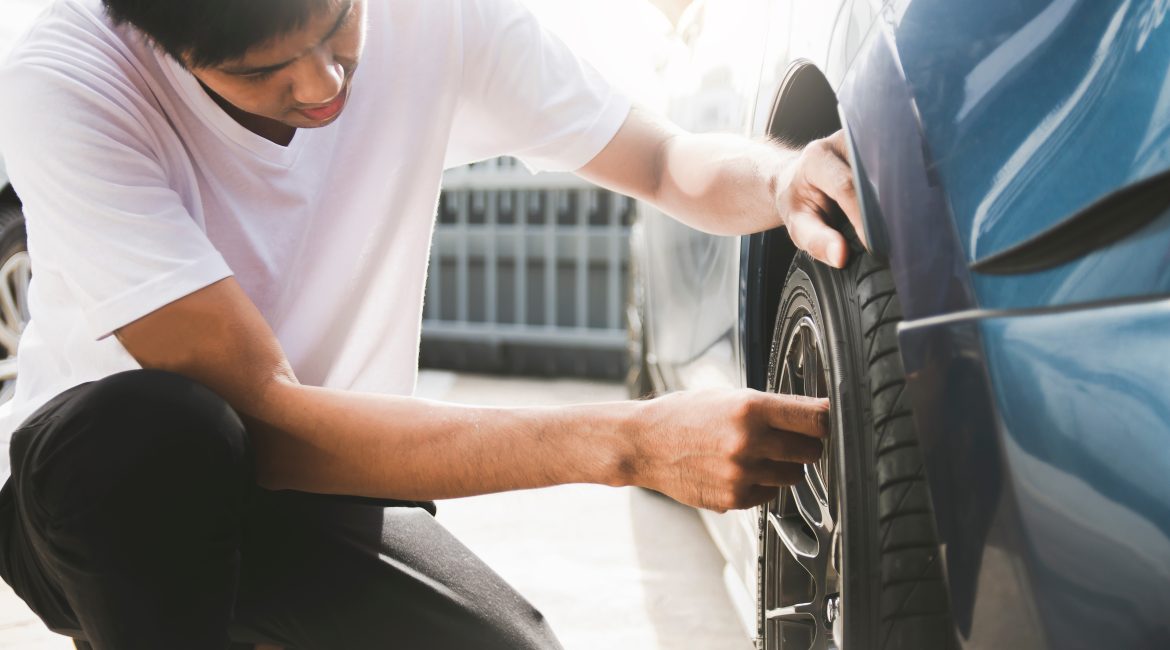
You don’t need to take your car to professionals to have your tyres assessed. You can easily do a tyre inspection from your own home. With these simple tips and tricks, you’ll be able to assess whether your tyres are in great condition or not. The condition of your tyres can determine how safe you are when you’re on the roads, so these tips are definitely worth considering.
How to do a tyre inspection
-
Take a look at the tyre’s tread depth
Evaluate the tread depth of your tyres to make sure you have enough traction to grip the road. In South Africa, your tyre tread needs to be at least 1.6mm, so make sure your tread is at least that height.
To check this easily, use a R5 coin. Place the coin in a groove in your tyre and if the silver edge remains visible, it’s time to change your tyres. While measuring, make sure that the tread depth is even across the tyre, from one edge to the other.
-
Check for cracking on the tyres
Cracking occurs on tyres when the rubber begins to age. It’s common to see fine cracks forming either between the tread blocks or on the sidewalls, but these should never expose the cords or cause air leaks.
Look closely at the area between the tread blocks. You may find fine cracks or wider cracks. Thin, small cracks are a normal part of tyre ageing but should be monitored regularly to prevent them from getting worse.

If there are wide cracks where you can see steel belts or woven fabric, the tyre is not safe to drive on and should be checked by a professional immediately.
-
Are there objects, bulges or punctures in the tyre?
Do a visual tyre inspection, looking at the tyre tread to see if there’s anything that doesn’t belong there. Nails, screws, pieces of metal and large rocks can become embedded in your tyre, puncturing the liner and causing a leak.
Sometimes objects lodged in the tyre can plug the puncture temporarily, causing a slow leak. Even if the tyre seems fine, it should still be repaired or replaced as soon as possible.
-
Check your tyre pressure
Ensuring you have the correct tyre pressure gives you a smoother ride, better handling and traction, and improved fuel efficiency.
Tyres that are under-inflated or over-inflated can feel loose when steering and will increase stopping distance during emergency braking.
Find your vehicle’s recommended tyre pressure in the owner’s manual or on the sticker inside the driver’s door. Once you know the correct pressure, check each tyre using a pressure gauge. These can be stick gauges, dial gauges or digital gauges.
Remove the valve cap, press the gauge firmly onto the valve stem and read the pressure. If air hisses out, reposition the gauge to get a proper seal. Compare the reading to the recommended pressure and inflate or deflate the tyre as needed.
-
Evaluate the age of your tyres
Even if the tread looks good, tyre age still matters. Tyres should generally be replaced every 10 years at most, even if they haven’t worn down completely.
To check the age of your tyres, look for the DOT code on the sidewall. The last four digits indicate the manufacturing date. The first two numbers represent the week, and the last two represent the year. For example, 3619 means the tyre was made in the 36th week of 2019.
Now that you have done your tyre inspection and determined that they are road-ready, it’s also worth checking for signs that your car may need a service.
Making sure your car is well maintained is important, but having reliable, honest and upfront car insurance is just as essential to protect you financially if your car is damaged, stolen or involved in an accident.
Read next: 4 Signs Your Car Suspension Needs To Be Checked
Yours in convenient and cost-effective car insurance,
Oneplan